Offshore Snow Shapes
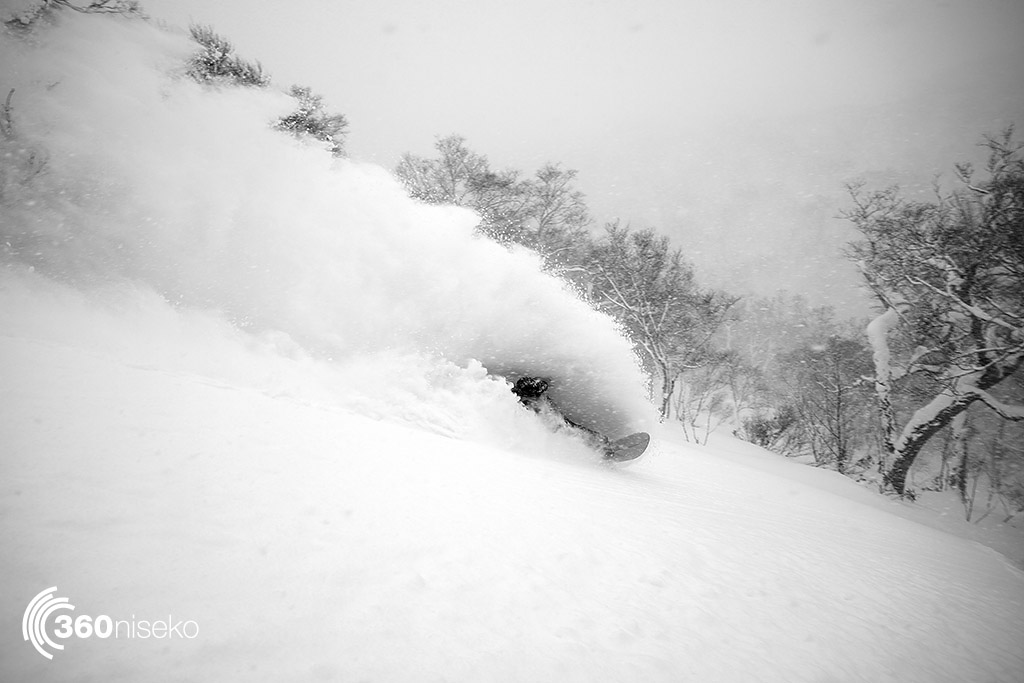
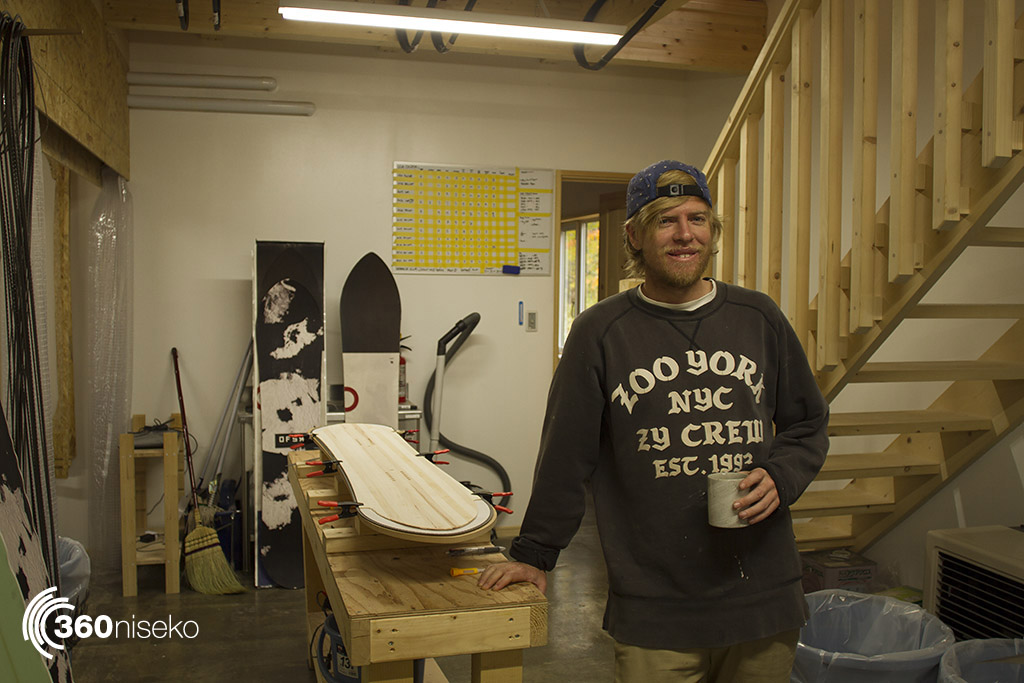


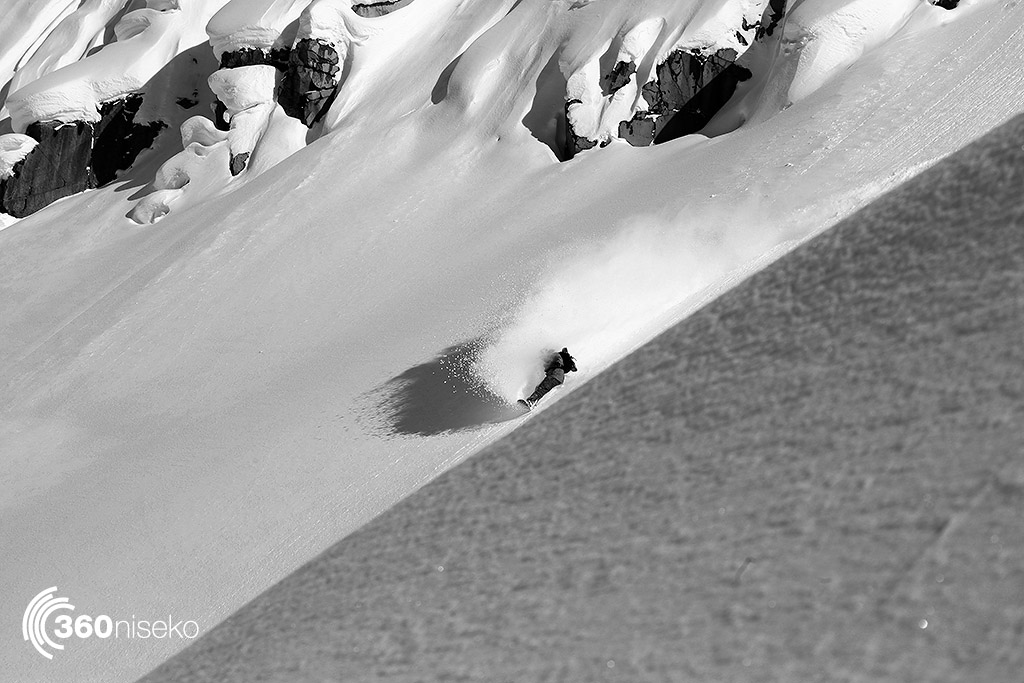
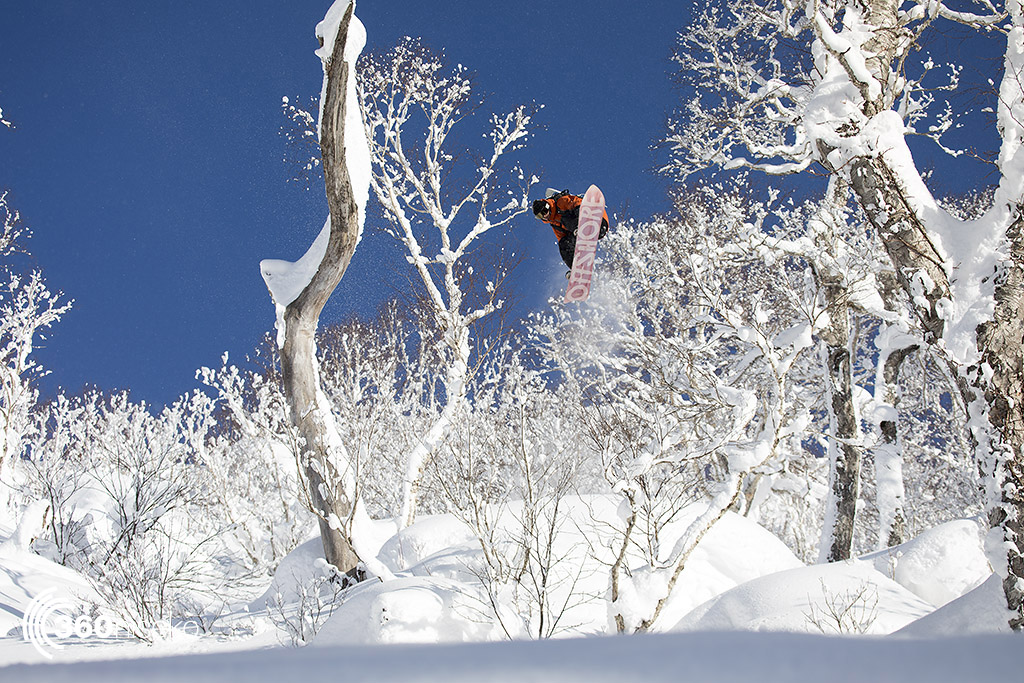
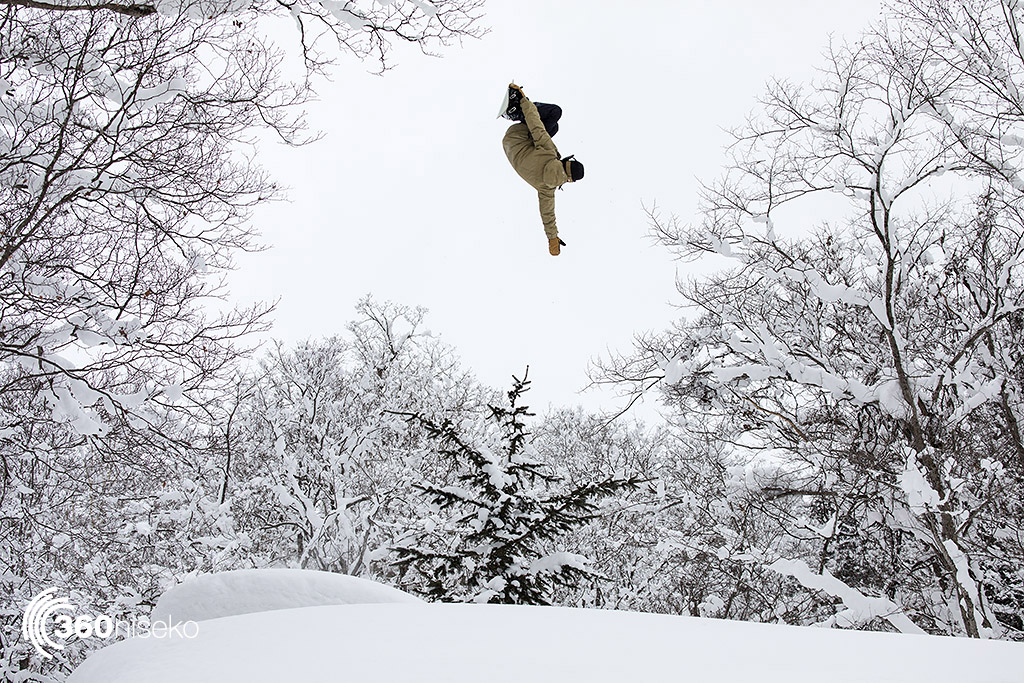
Above: Jake McCarthy mid powder burn in the Niseko backcountry. Photo Keats. Insets: L-R. Ritchie, Josh and Charlie of Offshore.
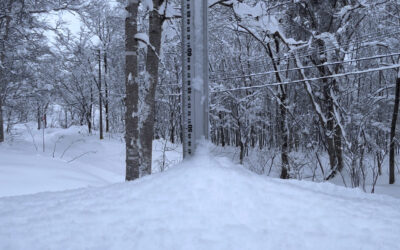
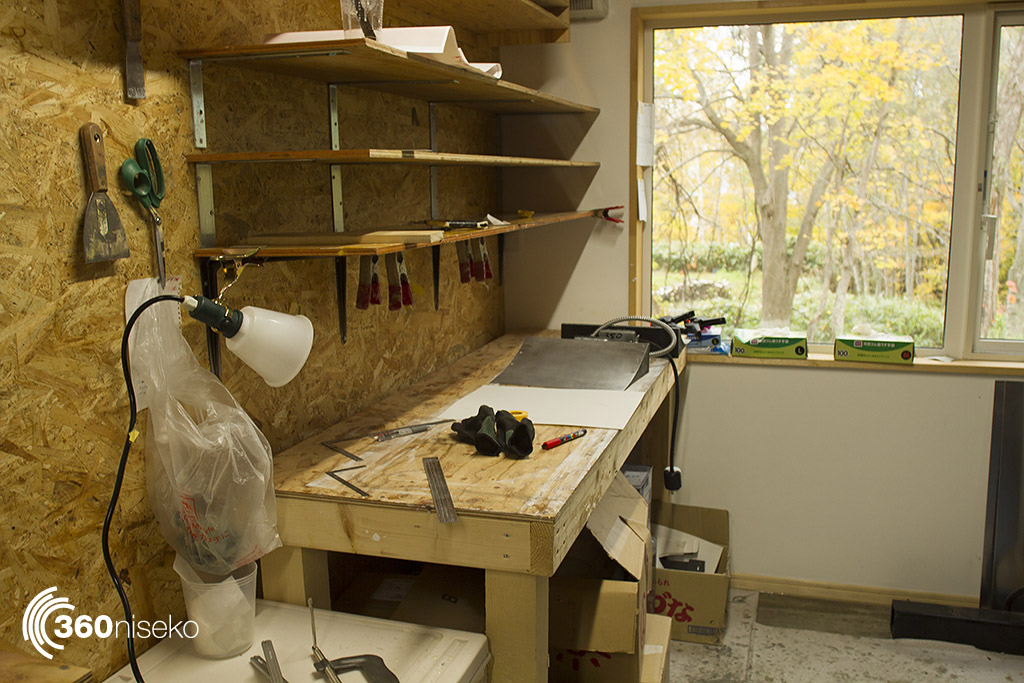
Offshore Snowboards are located about one heel-side and one toe-side turn from the end of the main run at Moiwa and in a situation that is uniquely Japanese their factory is smack bang in with all the houses and lodges right there in the Moiwa village.
Offshore is driven by two Australian snowboarders Richie Willcocks and Josh Monin who’s desire to ride Niseko’s perfect pow fuelled the dream to build a snowboard factory that was actually in the snow to give them the ability to go test ride a board, make changes overnight and repeat the process time after time until they had and I quote the offshore website …
“Hand-crafted snowboards of uncompromised quality and design, meticulously constructed in our bespoke factory at the foothills of Niseko, Japan”.
The scene at Offshore is a pretty bucolic deal and harks back to the golden days of snowboard construction where the person selling you your board had resin on their hands and paint under their fingernails. Normally it was a friend of a friend who knew the man or rode with them at a certain resort. There are key differences though with Offshore that has seen the brand move forward in leaps and bounds and the main one is the chaos and mess that dogged so many small snowboard makers in the early days of the snowboard industry is almost entirely missing and the boys at Offshore have built a highly efficient and highly organised state of the art factory all contained in a nice neat little space practically on slope. It’s not a stretch to say the dream has come true for these two Aussies.
When 360 caught up with Josh, Richie and team rider Charlie Stienbacker they were mid way through the push to get the Winter USA retail orders out the door and were covered in the dust, stickyness and bleary late night eyes of “The dream” turning to reality but were good enough to let us shoot a few pics and record a few sound bites and join them on a run through the process of pressing the first of several boards for the day.
DESIGN
The design process is where a model is born, the shape and curve of the board are all hatched here. Clearly the inspiration comes from the mountain just up the way from the factory but that inspiration then becomes a board right here in the design stage.Josh and Ritchie share the responsibilitys on this front. Josh on outlines, camber, graphics and then to Quote Josh “It’s over to Ritchie Willcocks. No Richie no Offshore. Richie takes the design ideas and translates them to the cad machine and makes sure that Offshore can do the impossible within the boundaries of the software. Actually without all the guys like Ritchie and Charlie and the whole team there would be no Offshore.” Once a design is fully realised the CNC components (Base, core and sidewalls) are cut they join the dye-sublimation printed top sheet in the storeroom and the process continues on.
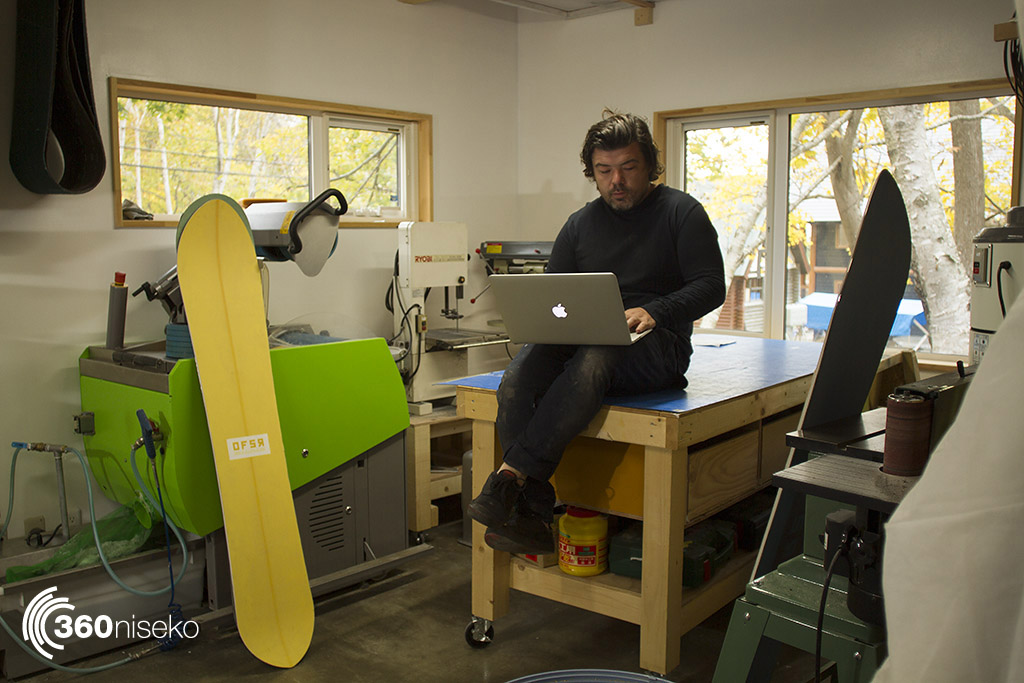
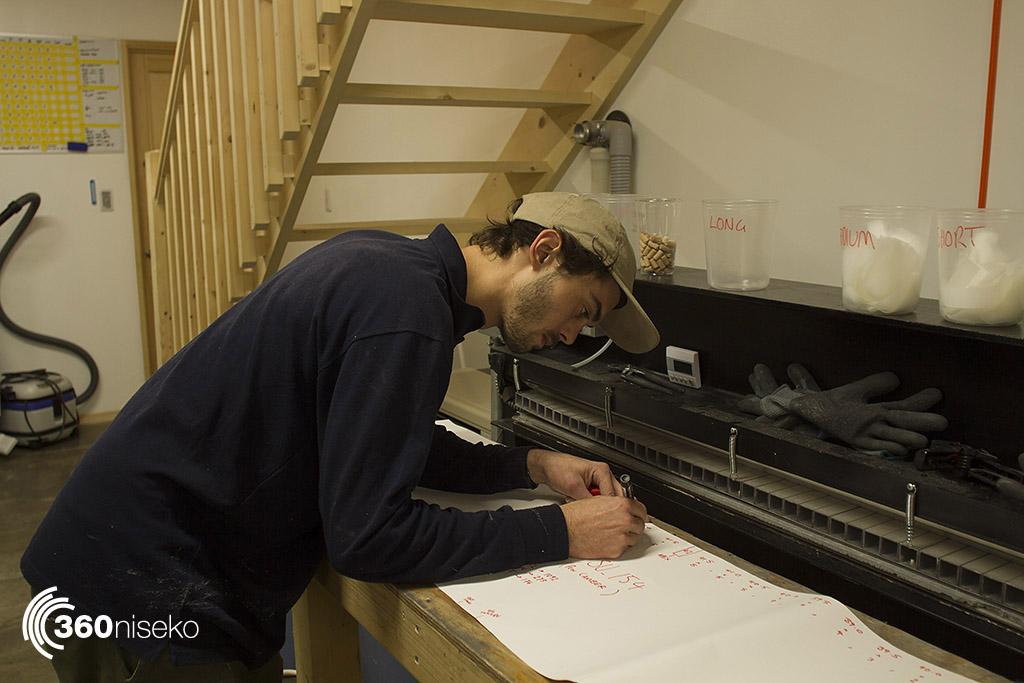
Above: Josh Monin on his macbook. Josh designs all the outlines and profiles for the various offshore models as well as the graphics which are printed on the companies dye sub printer in-house.
Below Josh Monin testing design theory. Photo Keats.
EDGING
Edging is where the actuall building of the board starts.The first part of the lamination stack is attaching the steel edges to the base after the base has been cut by the CNC(Computer numeric control) machine. The edges are all hand bent to a specific tolerance and the edge steel has a finish that allows it to bond to the P-tex of the base.
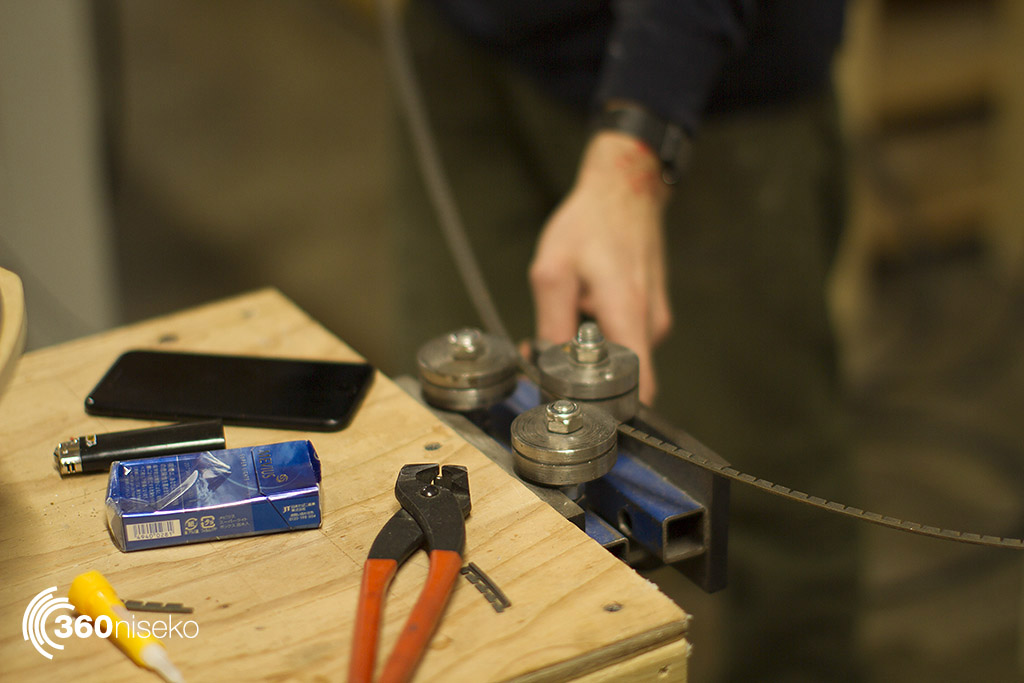
Above: “This is a custom edge bender that we use to fit our edges to the base of the board prior to lay-up. The ciggies are obviously an old packet left behind by a tradesman doing work on the factory.”
Below: A board getting “Edged” the process is a pretty complex one involving multiple clamps, custom built benches and very specilist tools. Team rider Charlie Stienbacker (a carpenter by trade) was instrumental in the construction of many of those aspects of the factory.


Above: These are hardened Rockwell steel edges that are waiting to be attached to bases. These are all sand-blasted so they bond well to the other parts.
THE CORE
The snowboards core is a crucial component to heavy and the board underperforms, too light and it will break. Core structure is a bit of a black art and there is not exactly a “How to” manual available but generally a core is made of several strips of different wood species laminated together and milled to a thickness of around 12 MM. They are then further milled to the right form for the specific snowboard model and come in at around 7mm. Once a core is milled it then has tip-fill added along with sidewalls and binding inserts and is ready to enter the lamination stack.
Above: “These are cores that have been milled to the outline shape and profiled down there is also some sidewall material that has been milled (The black stuff) and profiled down to suit the individual cores in the picture”.
Below: As a rider shaper Ritchie Willcocks has a unique perfsective formulated over many many deep Niseko days like this. Photo Keats.

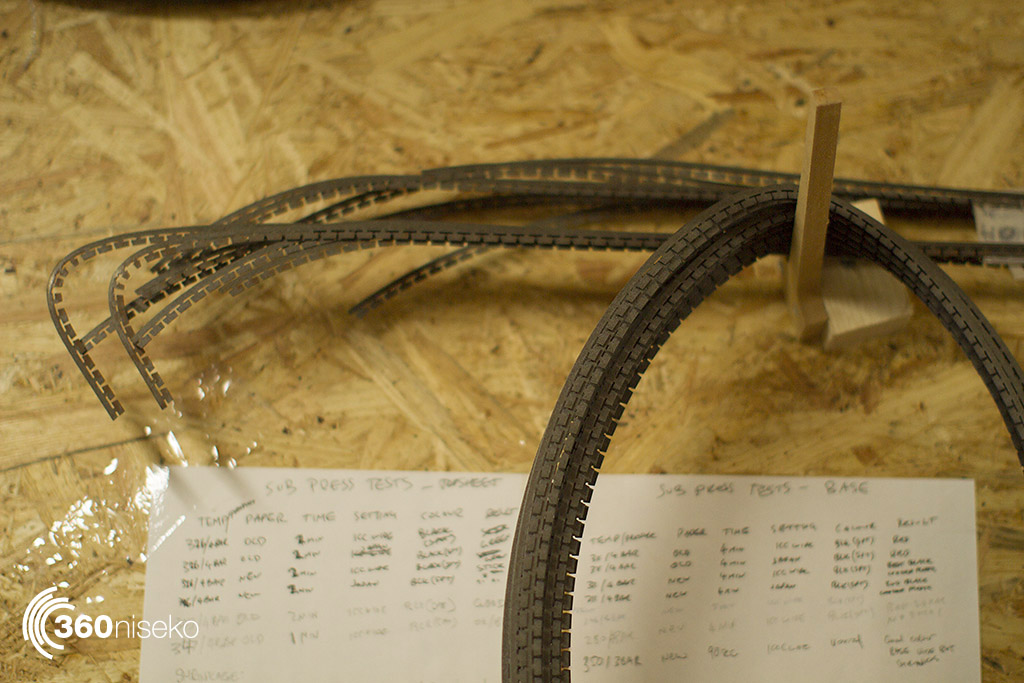
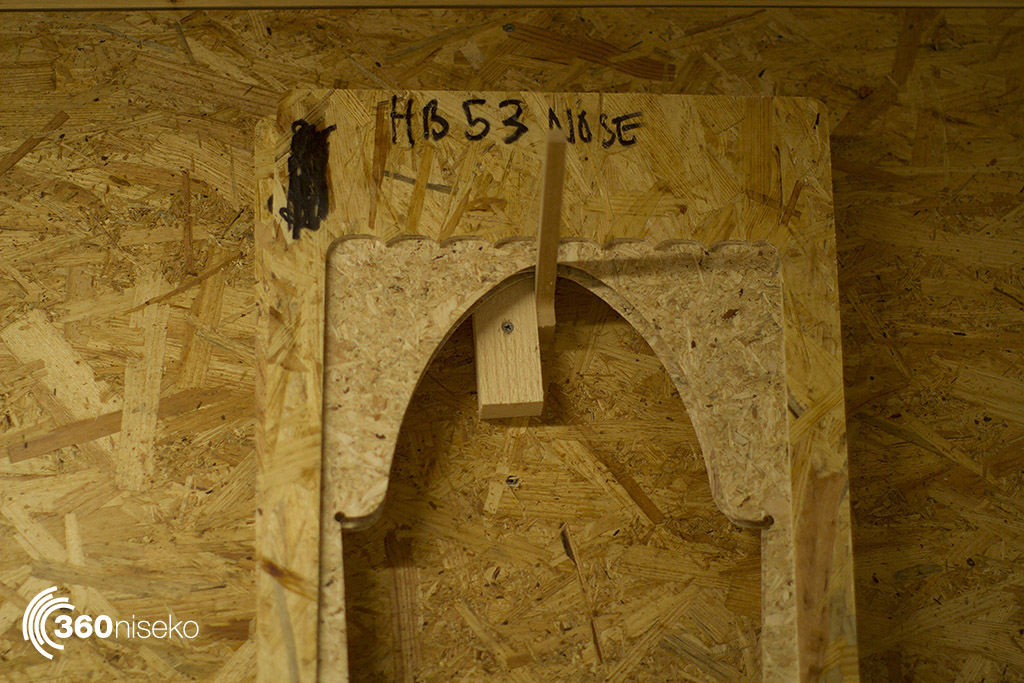
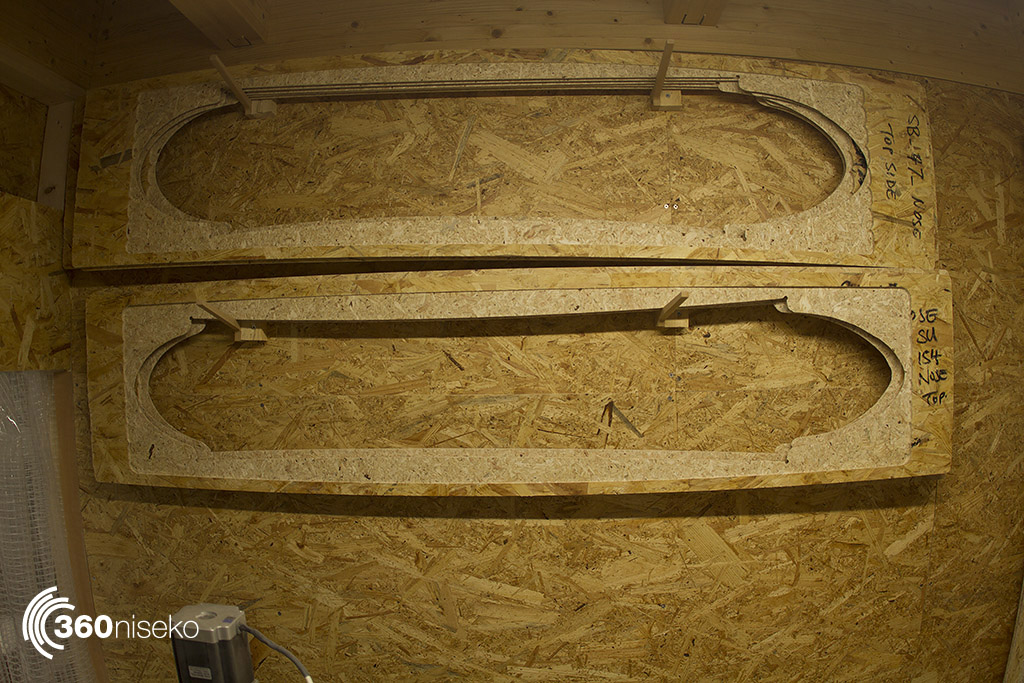
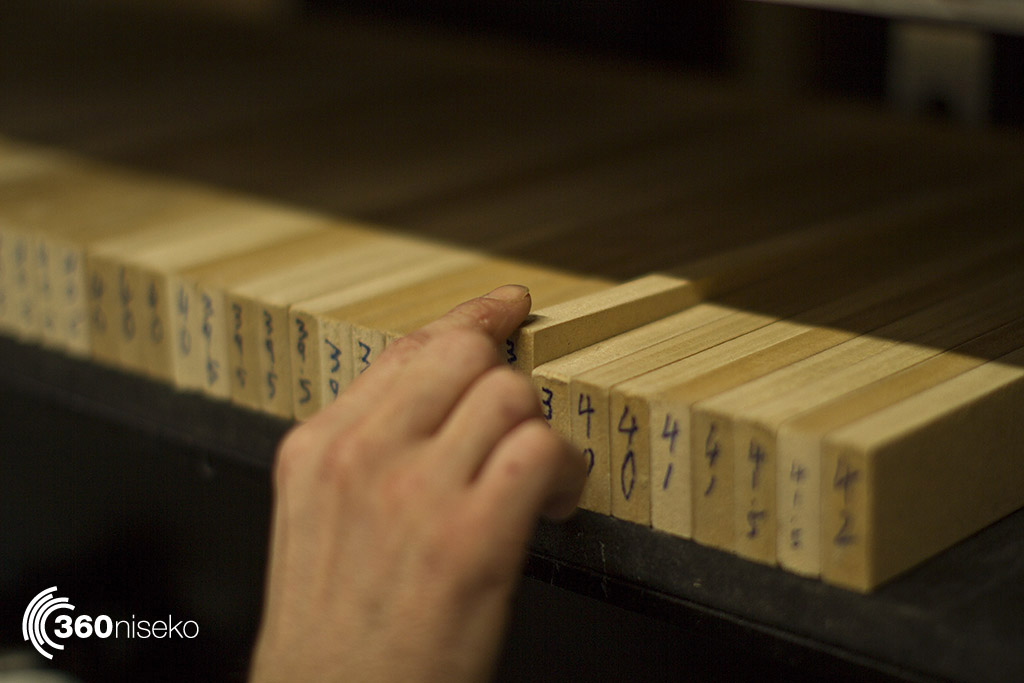
Below: “These are the templates for the cores. We use a specific one for each model obviously. These templates allow us to keep our alignment perfect on each board and make all our cores exactly the same within a run of models and keep our variance really really small”.

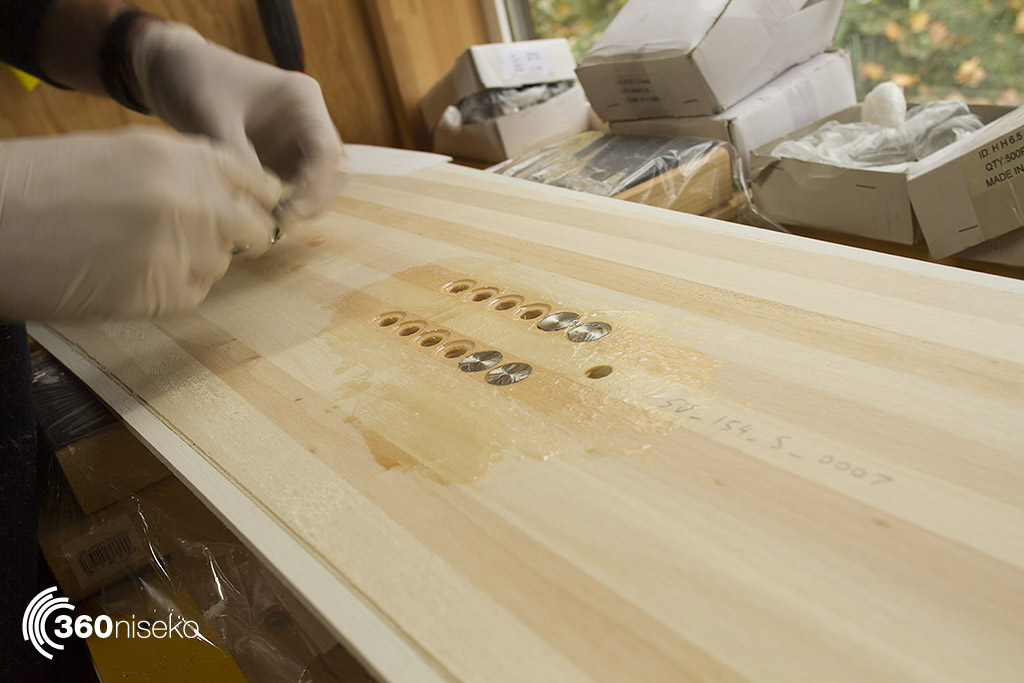
Above: “This is “Tip-Fill”, basically a hardened plastic. We use Tip-Fill because we have a choice to mill a core all the way out to the edge or we can use tip fill. Tip fill is the go because it absorbs a lot of shock in high impact areas. We run 30mm all round because we had an engineer (from Tesla) do some consulting for us and he explained that there has to be enough tip-fill to give a good bond to the other layers in the stack as well as provide the protection, too little and the tip will delaminate and not provide the protection you need too much and you get excess weight as plastic is the heaviest part of the board. In a nutshell Tip fill is there to help with durability, dampening and weight. A lot of companies only put them on the nose but we have them nose and tail and other companies also often cut the core off short but we run the core through to give a true flex pattern”.
Below: “This is a really important part of the process that can often get overlooked in the big factories. This is the core being sanded and flamed by Charlie to ensure a really nice bond between layers and the core. The blowtorch cleans and oxides the ABS sidewall making it ready for bonding. One of the real challenges of what we are doing is bonding together a huge stack of different materials that often don’t really want to bond together so we have to make sure they do”.

Above: Charlie Stienbacker testing the laminate bond in the Niseko Back country. Photo Keats.
LAMINATION
Lamination is kind of crunch time this is the point where all the different parts of the process have to come together and work to form a 90% finished snowboard. It’s where the lanination stack is glued together and put under a huge amount of pressure in the press and heated to cure (curing is the resin going hard) as fast as possible. This process is all done by hand in the lamination stack that goes as follows bottom to top, P-Tex Base > Steel Edge > Edge Dapening Tape > Fibre Glass > Innegra Insert Patch/Binding Inserts/ Carbon Rods > Core > Carbon Power Cords > Fibreglass > Top Sheet. As you can imagine it’s a pretty complex lamination with a myriad of opotunities where things could go wrong. once resin has been spread across and in all these layers the stack then heads to the press.

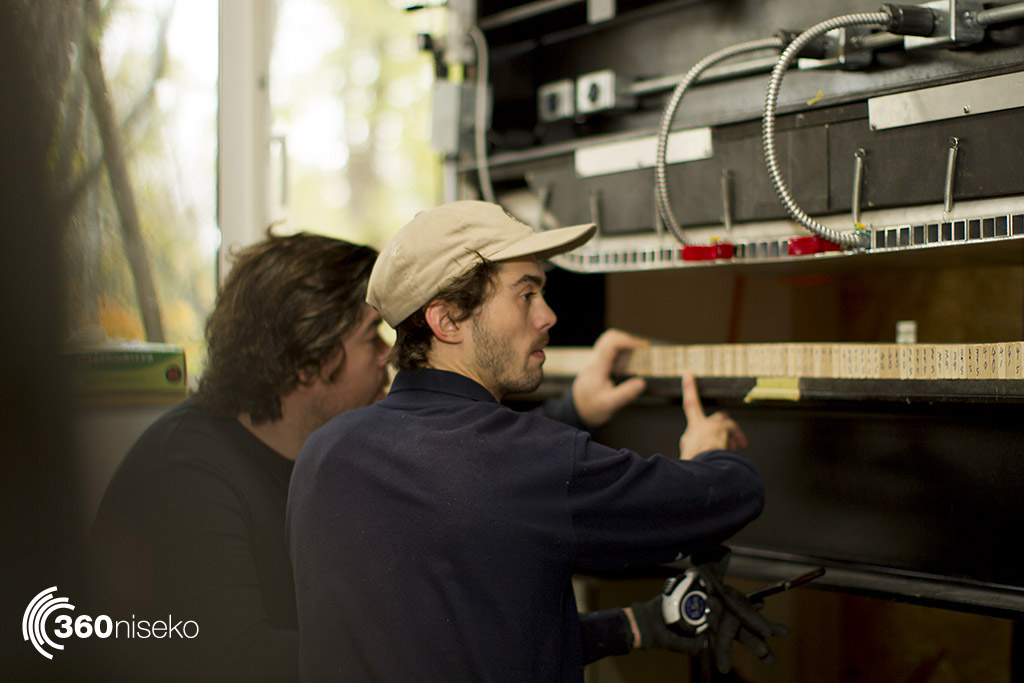
Above: “This is Charlie and Josh setting up the press, they are checking the camber and rocker heights for the next board we are gonna be laying up. They check the heights of the nose and tail and the heights of the running length, basically making sure everything is to spec. The press is set-up so we can really tailor the specific camber (Camber is the curve in the bottom of a snowboard) of each board weather it’s a stock board or a custom board we have a really high level of control. So even within a specific length model’s outline we have the ability to alter the rise and camber etc to suit specific riders requests. … a fully customisable camber line”.
Below: “This is in the press room and the lay-up bench mid way through re-setting the camber line, you can see the nose and tail kicks. at the far end of the bench. We use a combination of different nose and tail kicks”.


Above: “This is a really important part of our boards, the “Power cords”. These run laterally from the binding inserts to the effective edge. They are a carbon woven into a binding cloth and they go from wide to narrow and the purpose is to provide torsional stability, consistent flex and most importantly to transfer energy from say a toe-side turn that’s pulling on your heel to the toe-side contact point giving you a more controlled flex and transfer of power during a turn. They also add a huge amount of stability when you are landing. That web of carbon gives a really nice controlled flex during a landing. We put these nose and tail”.
Below: Jake McCarthy about to put the power cords core to the test in a Niseko mushroom fest. Photo Keats.
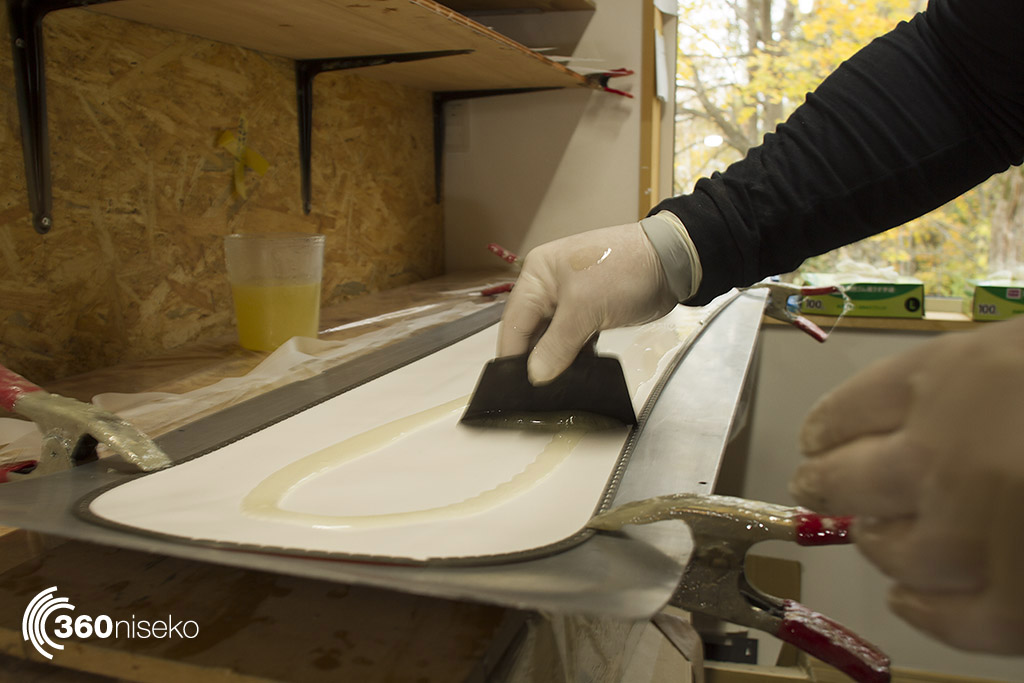
Below: The heart of the lamination process (wetting out the layers) is all by hand and 99% feel according to Josh kind of like the most complex araldite project you could dream up.

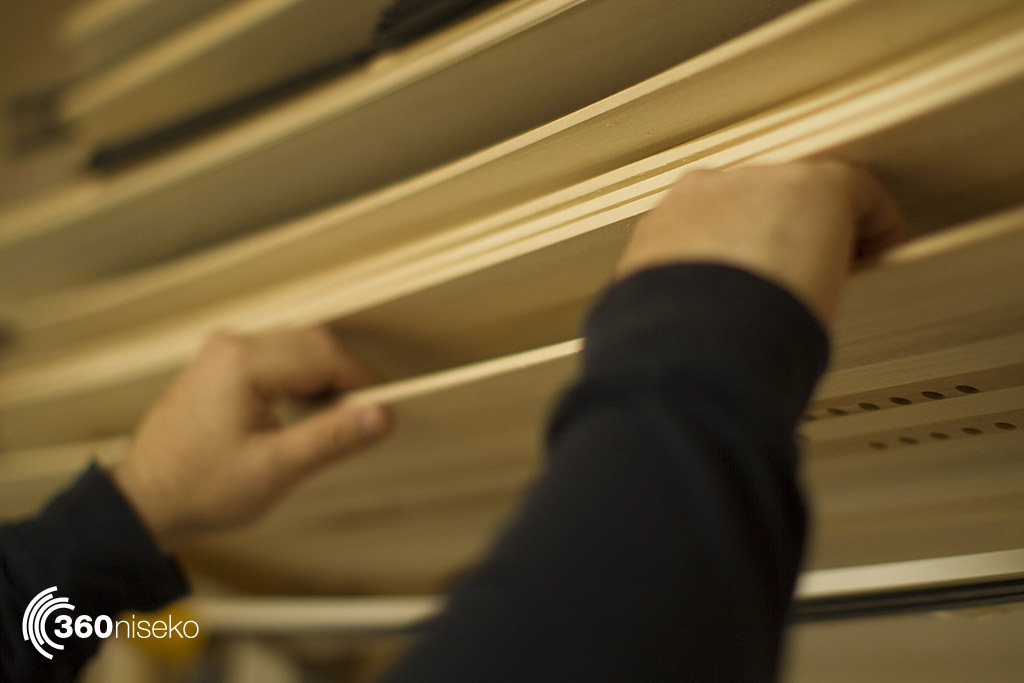
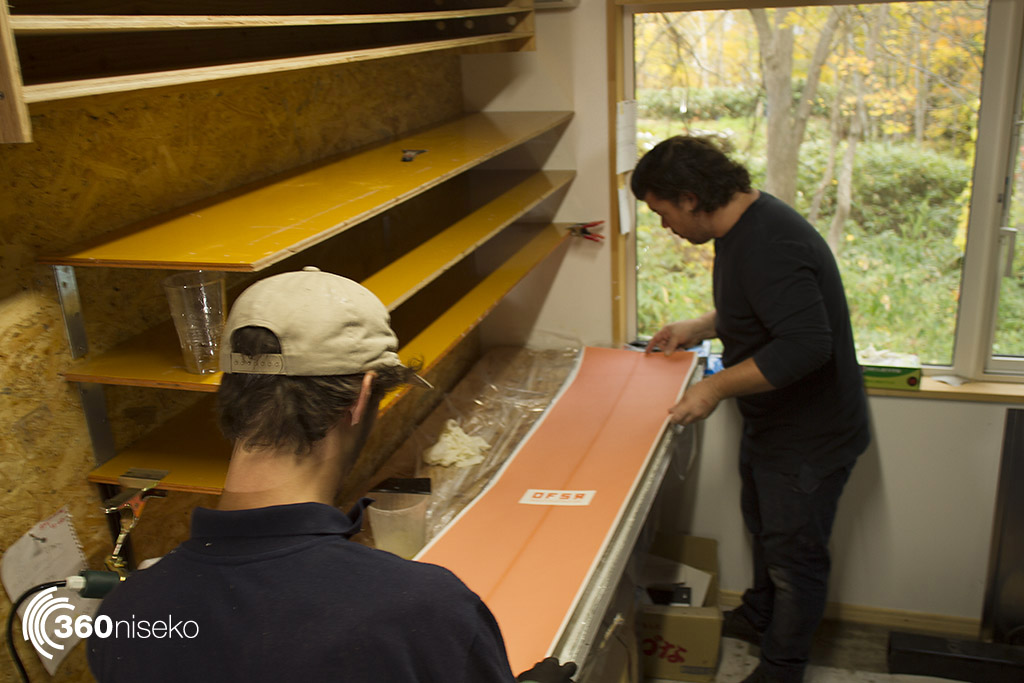
Below: “This is the final stage of lay-up where we are aligning the top sheet after all the other layers are down”.

Above: “This is a board in the press waiting for the resin to go off before we can put the next one in. The rooms a little fumey … but we’re smiling”.
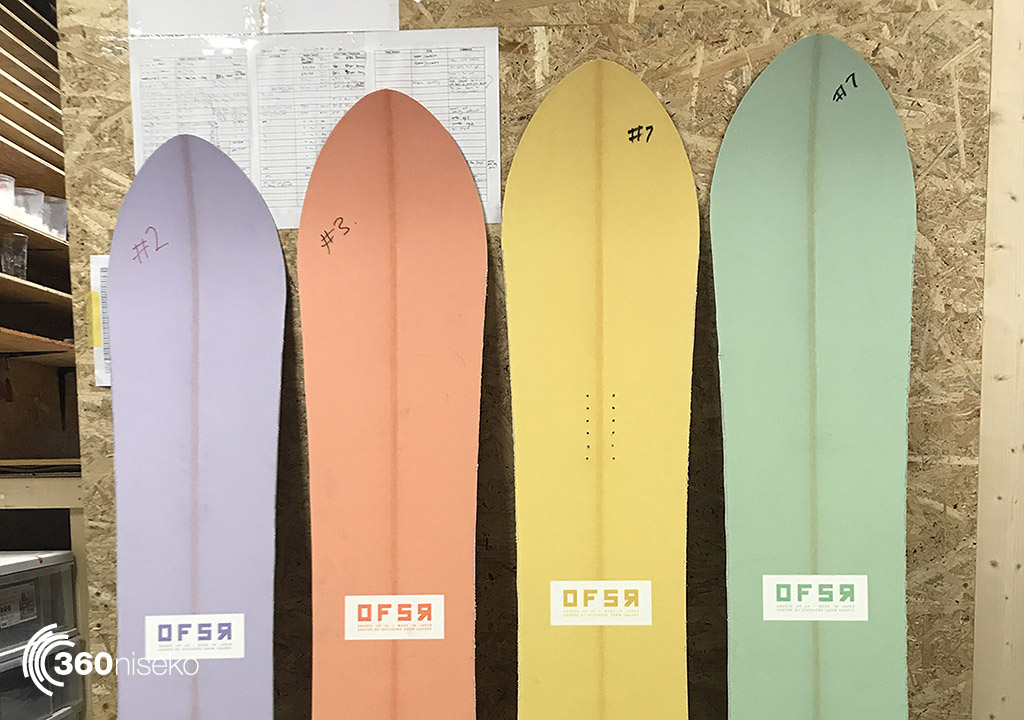
Below: The three parts of an Offshore board, blank, core-cutout- finished product.

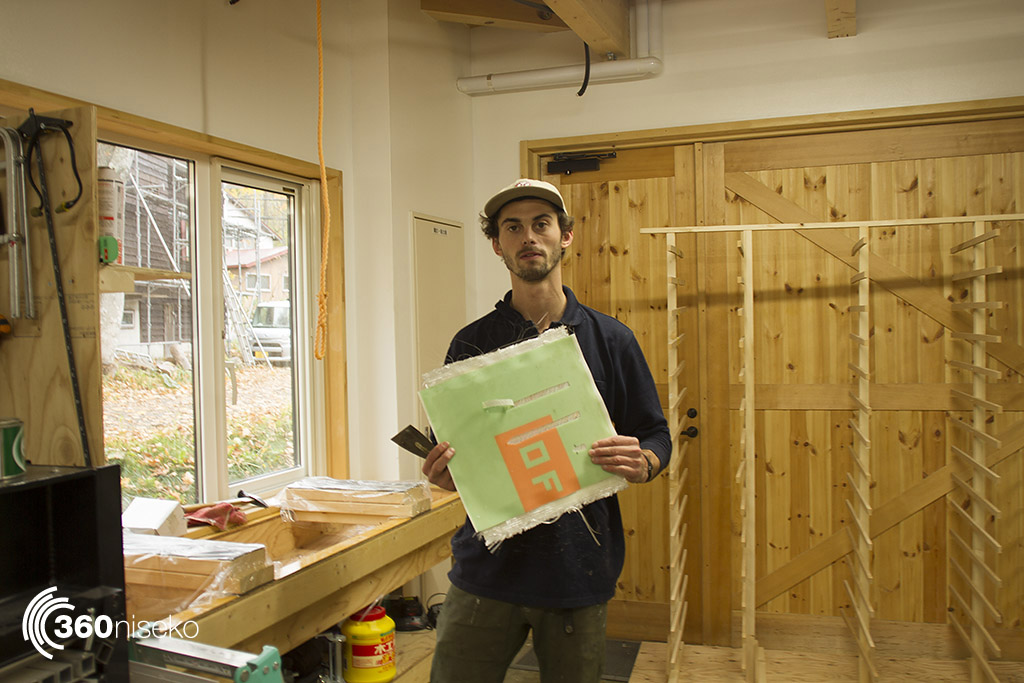
Above: “This is Charlie holding a test panel. Every cycle of boards we do we do a testing process where we double check all our laminates and our resins and make sure everything is bonding well. We do a shear test where we create small boards and check the peel strength which makes sure we are good on bonding strength between all the materials”.
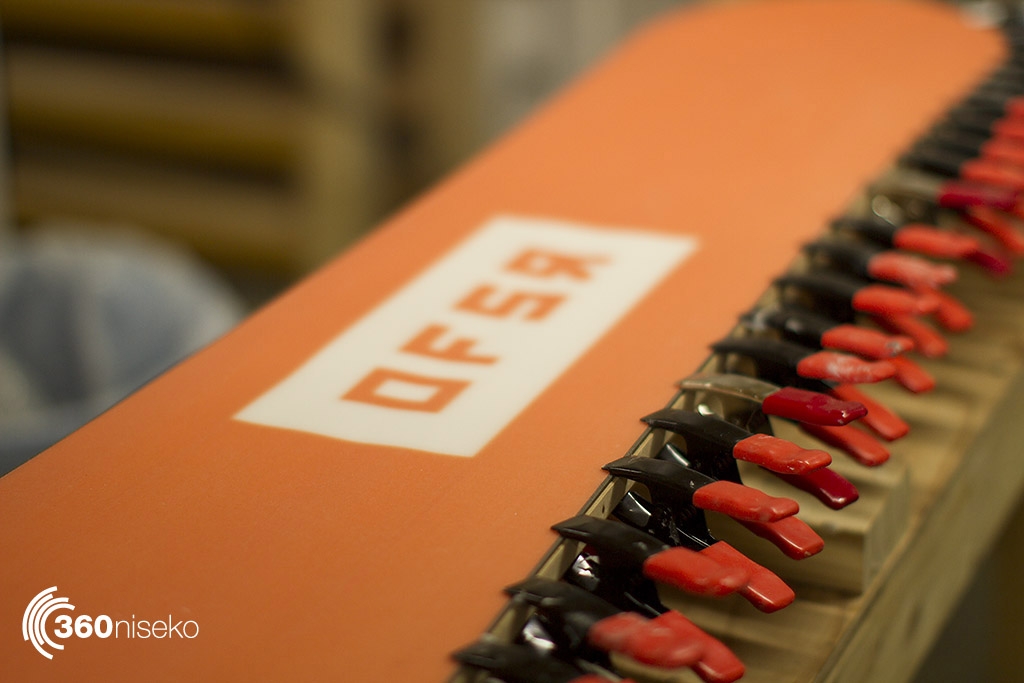
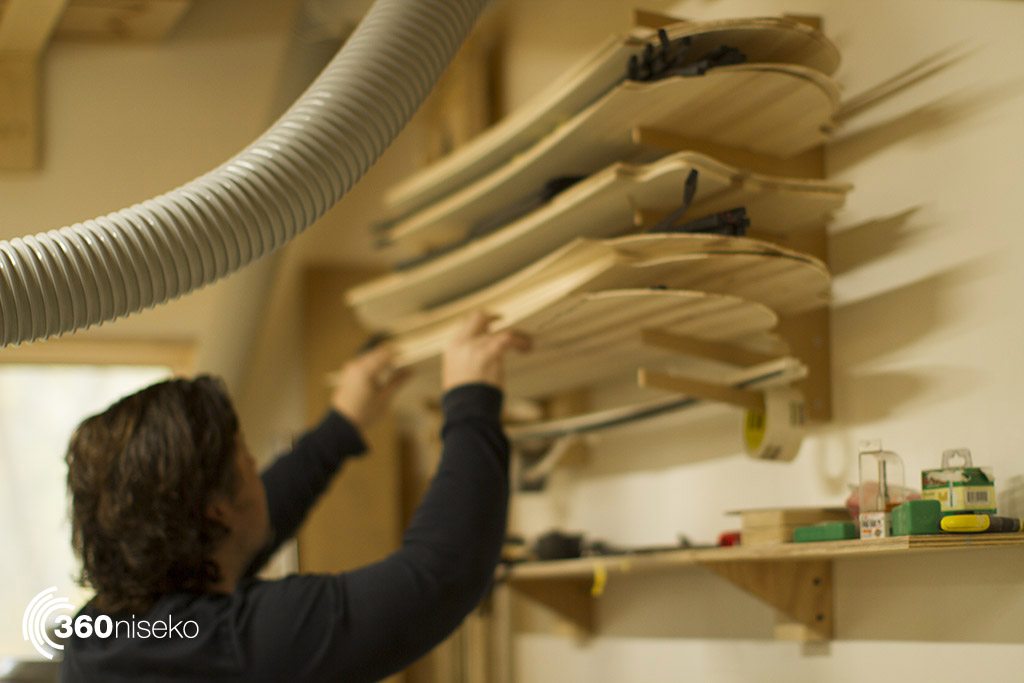
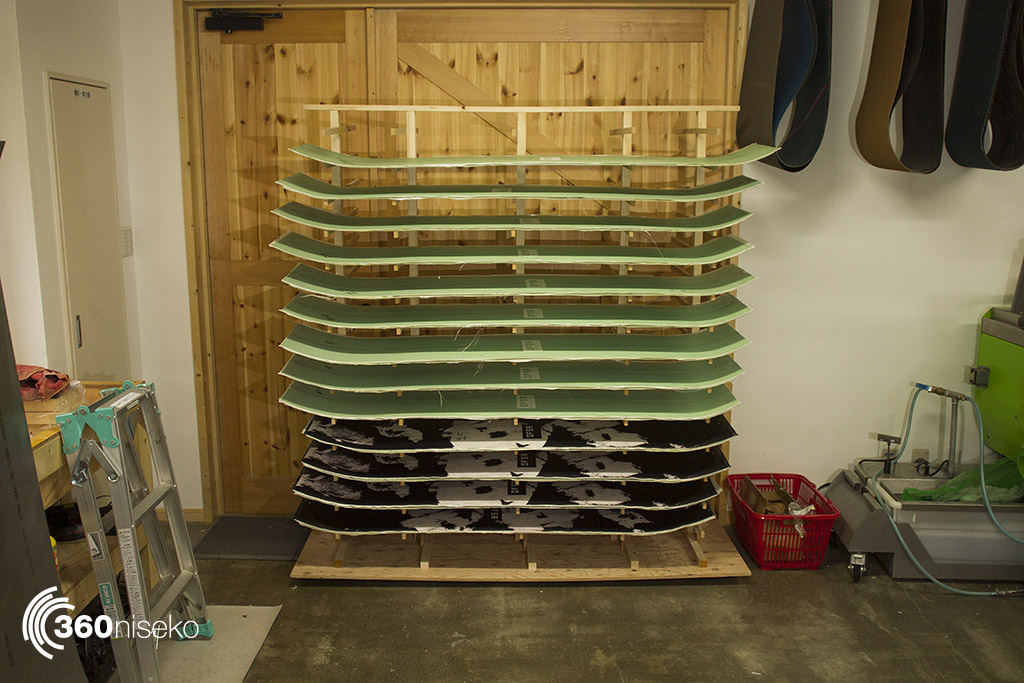
Below: A solid rack of 160 “Snurfs Ups” and 150 “Sea Biscuits” that are headed to retailers in North America. These are just out of the press and curing. The next step is to trim the outline before a base grind and exposing the the inserts. Then we pack em and ship em.
To checkout a bit more of what the Offshore crew are up to follow them on Instagram or Facebook and if you are after the full experience head over to Offshore Snow Shapes. If you want to get you hands on one of their boards while you are in Niseko head in and see our friends at Rhythm Summit in Hirafu.